Rough-in Installation Kit
Streamline Your Salon with the Rough-In Installation Kit
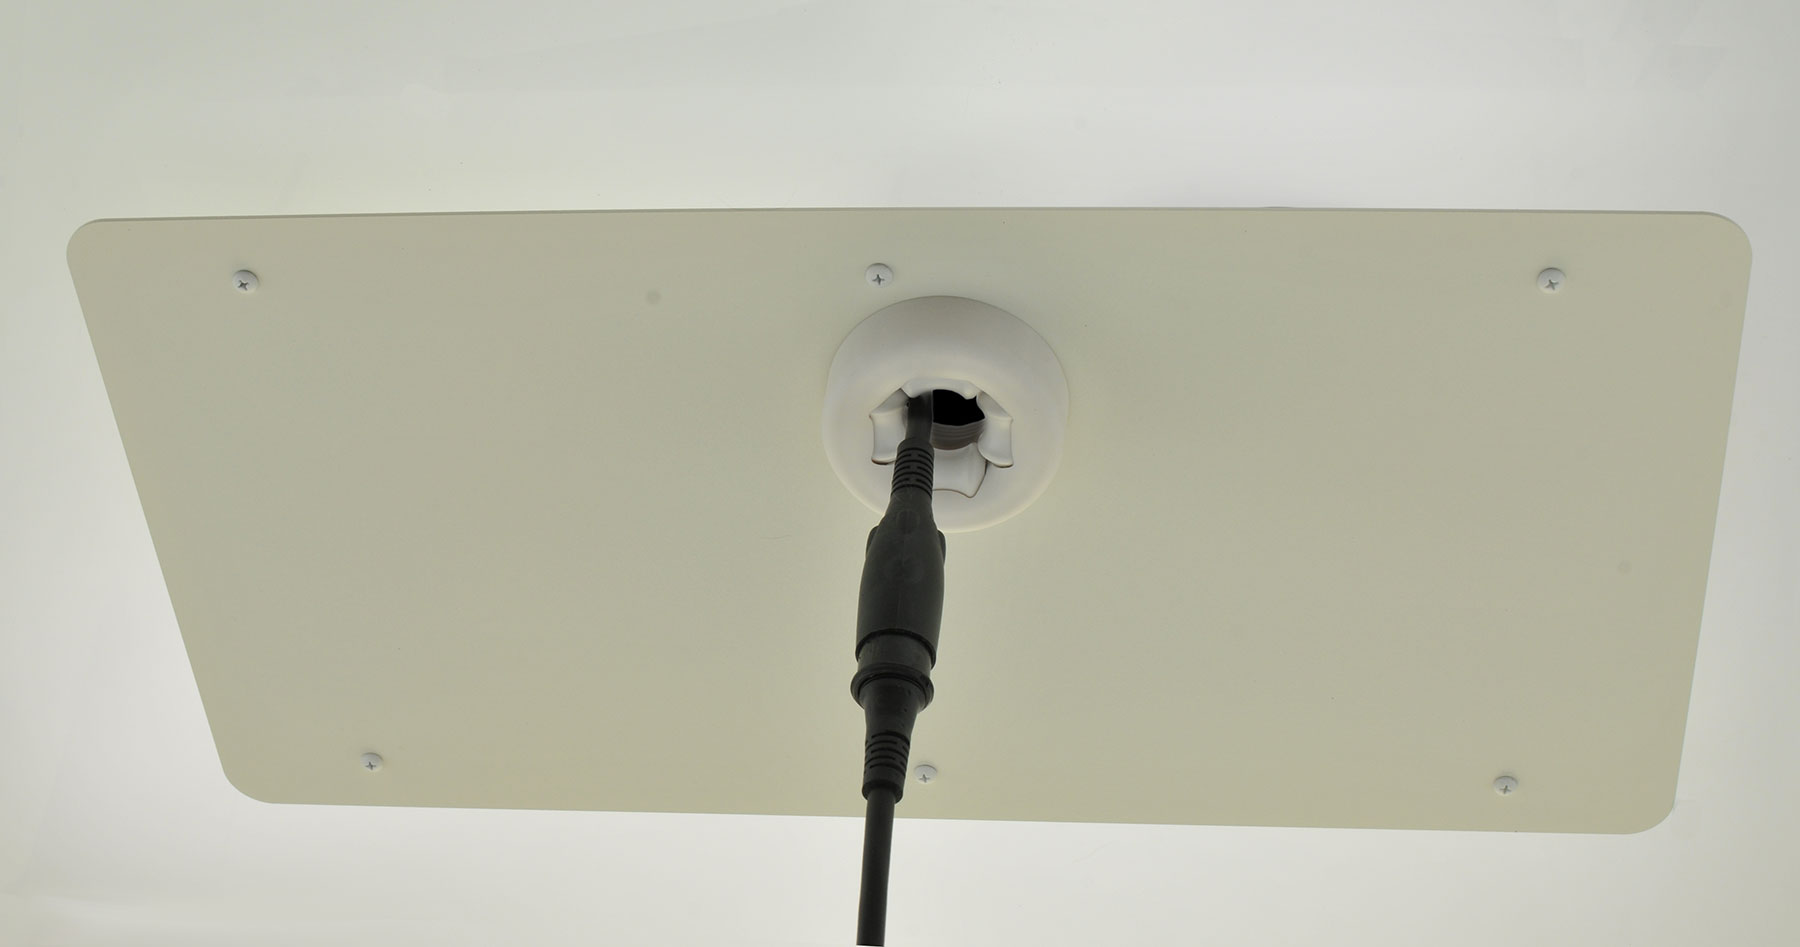
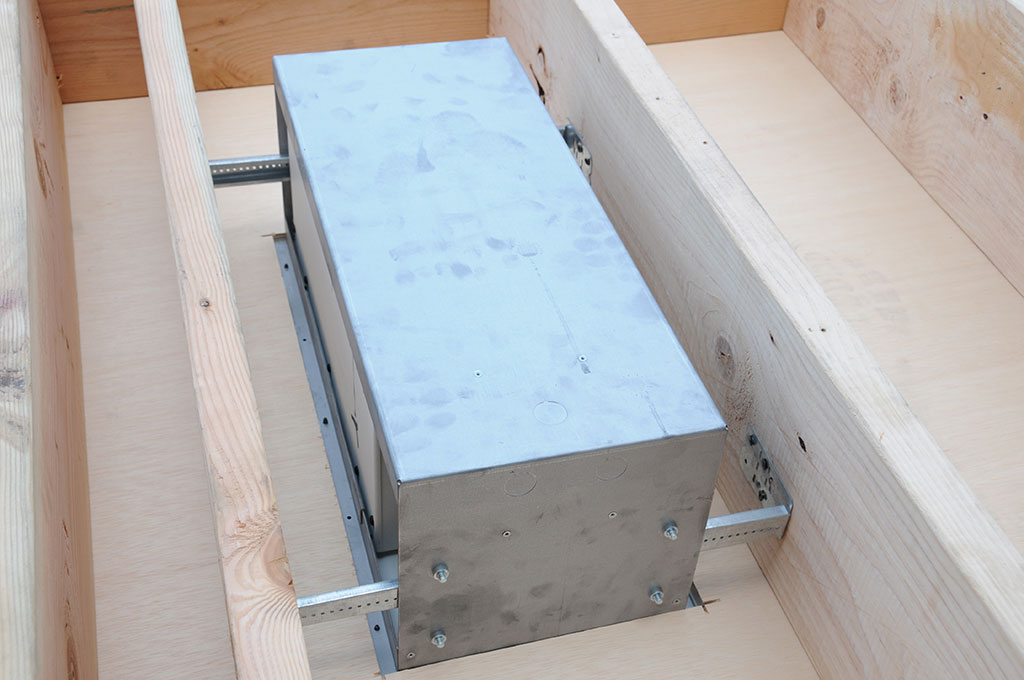
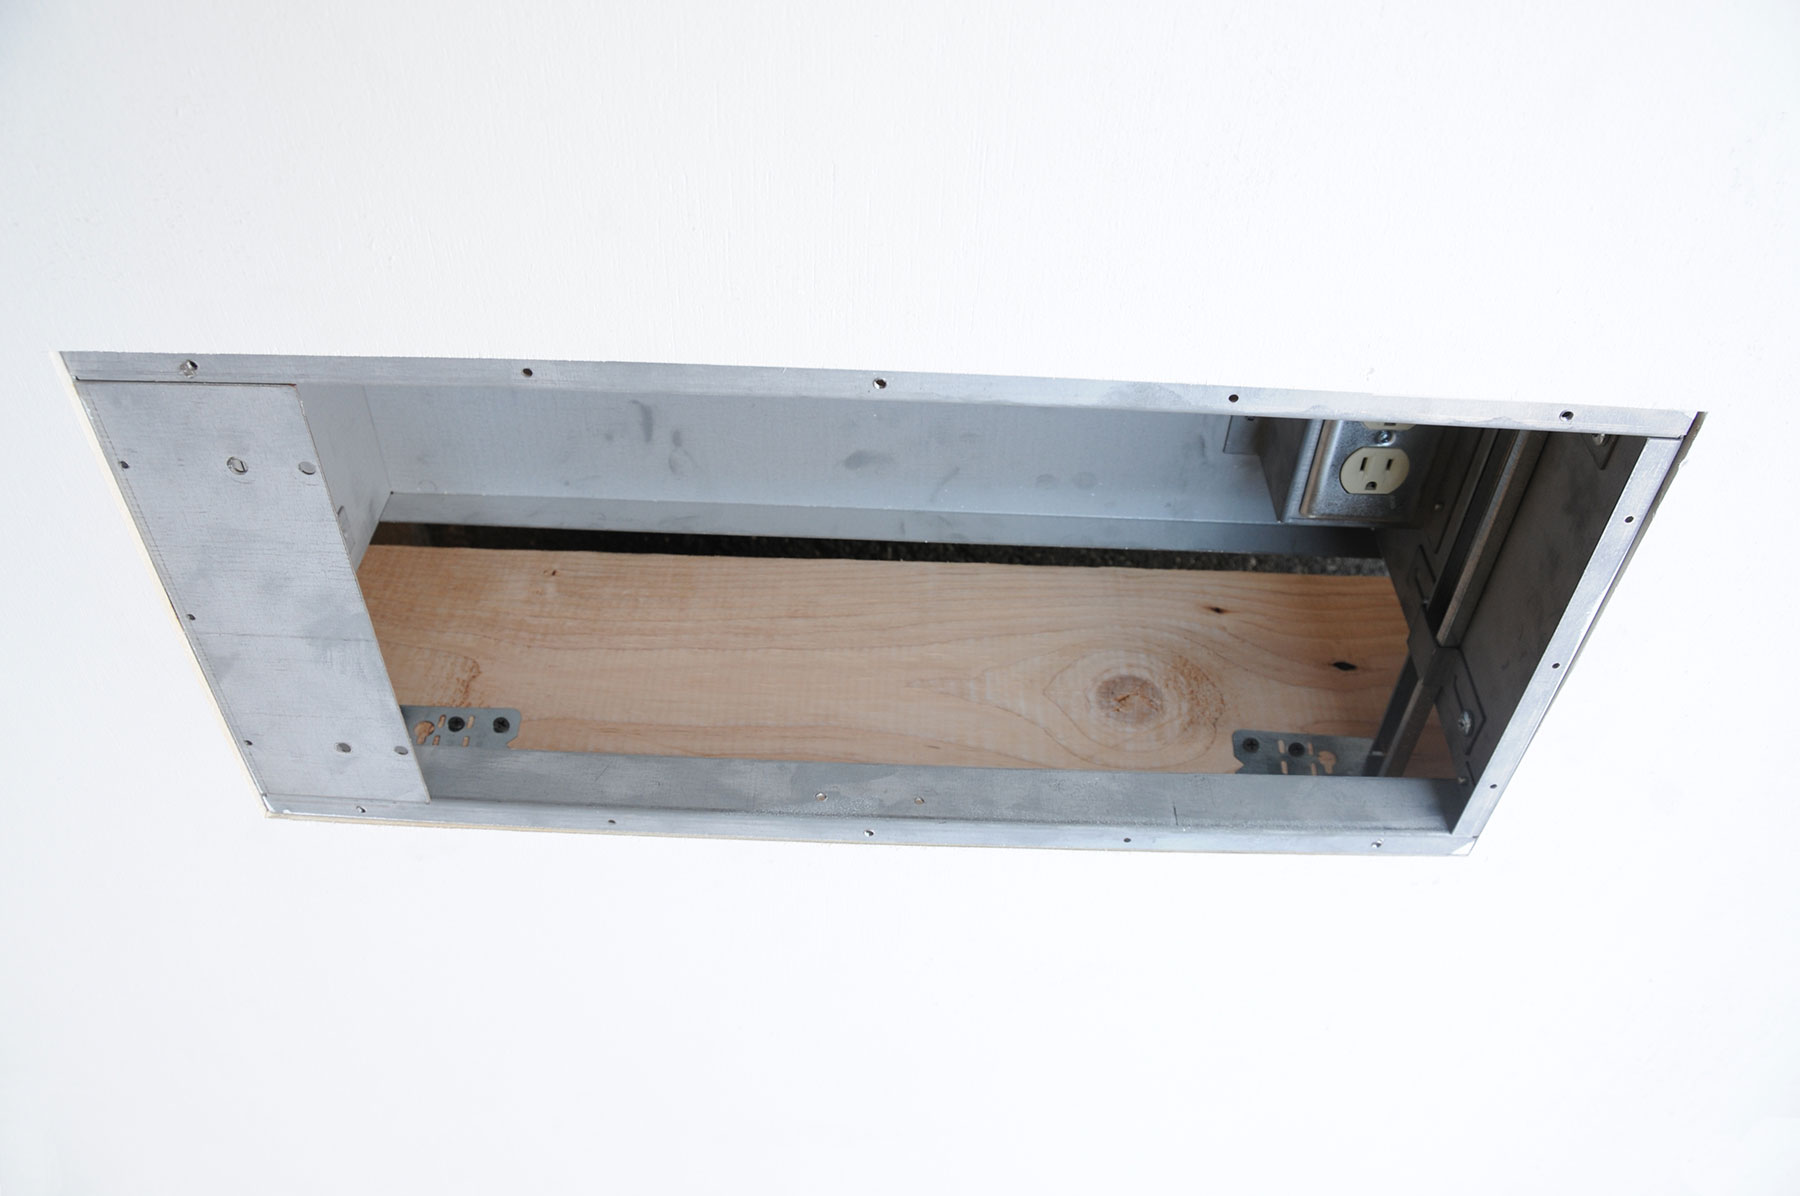
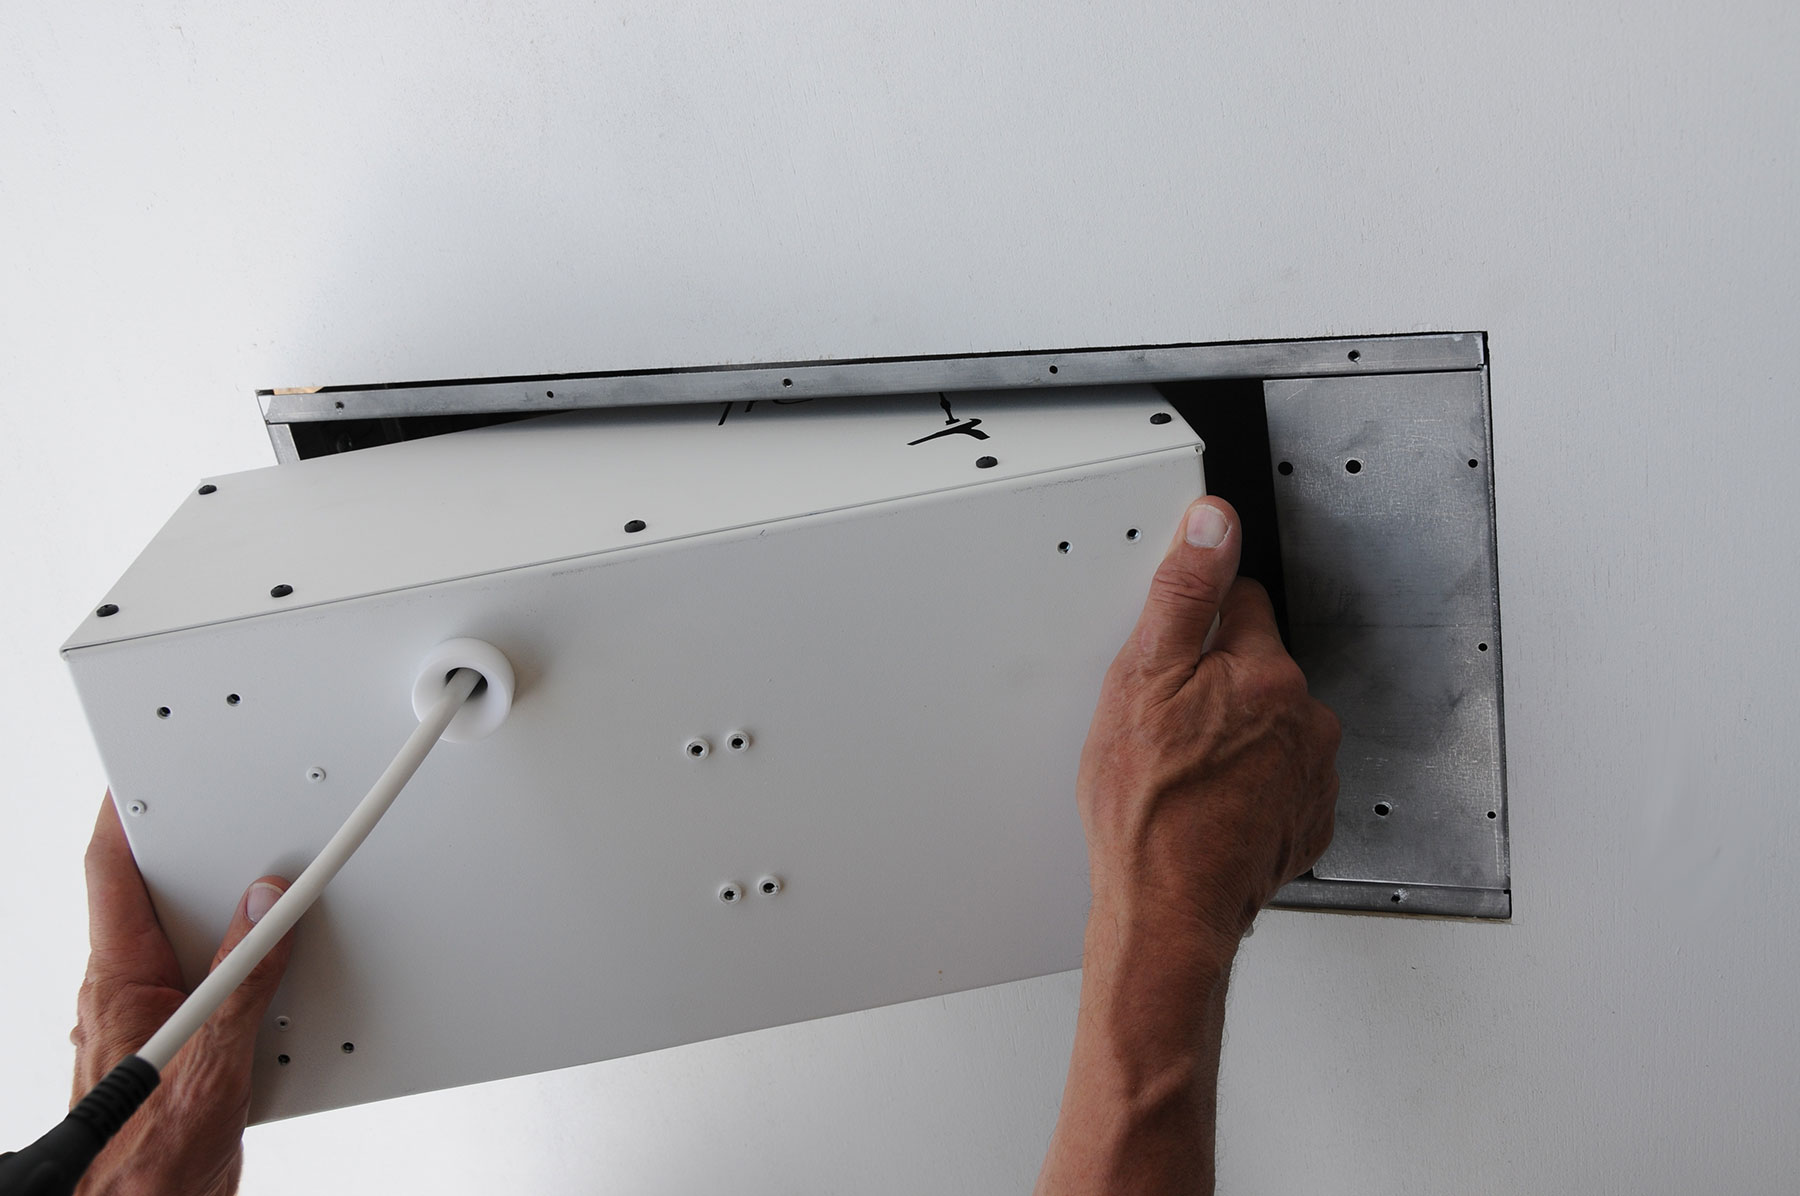
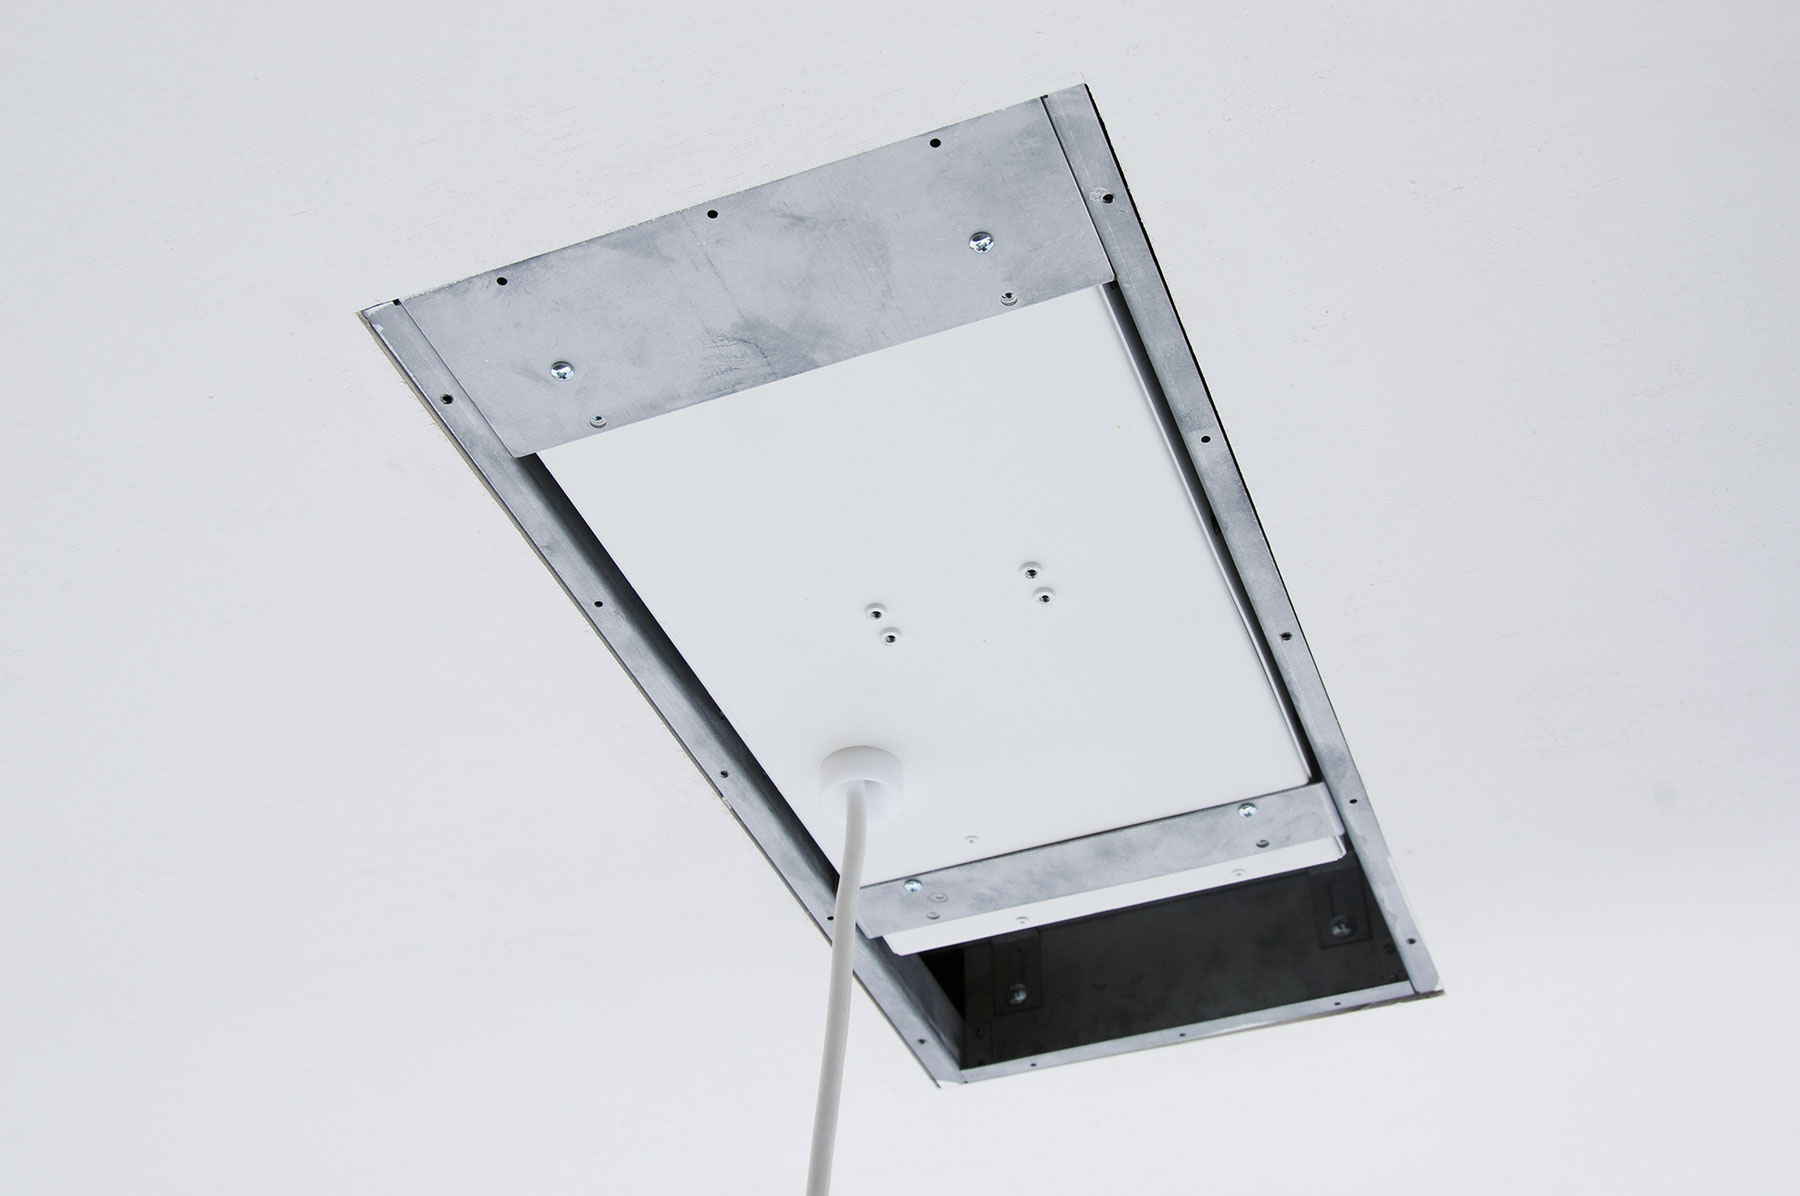
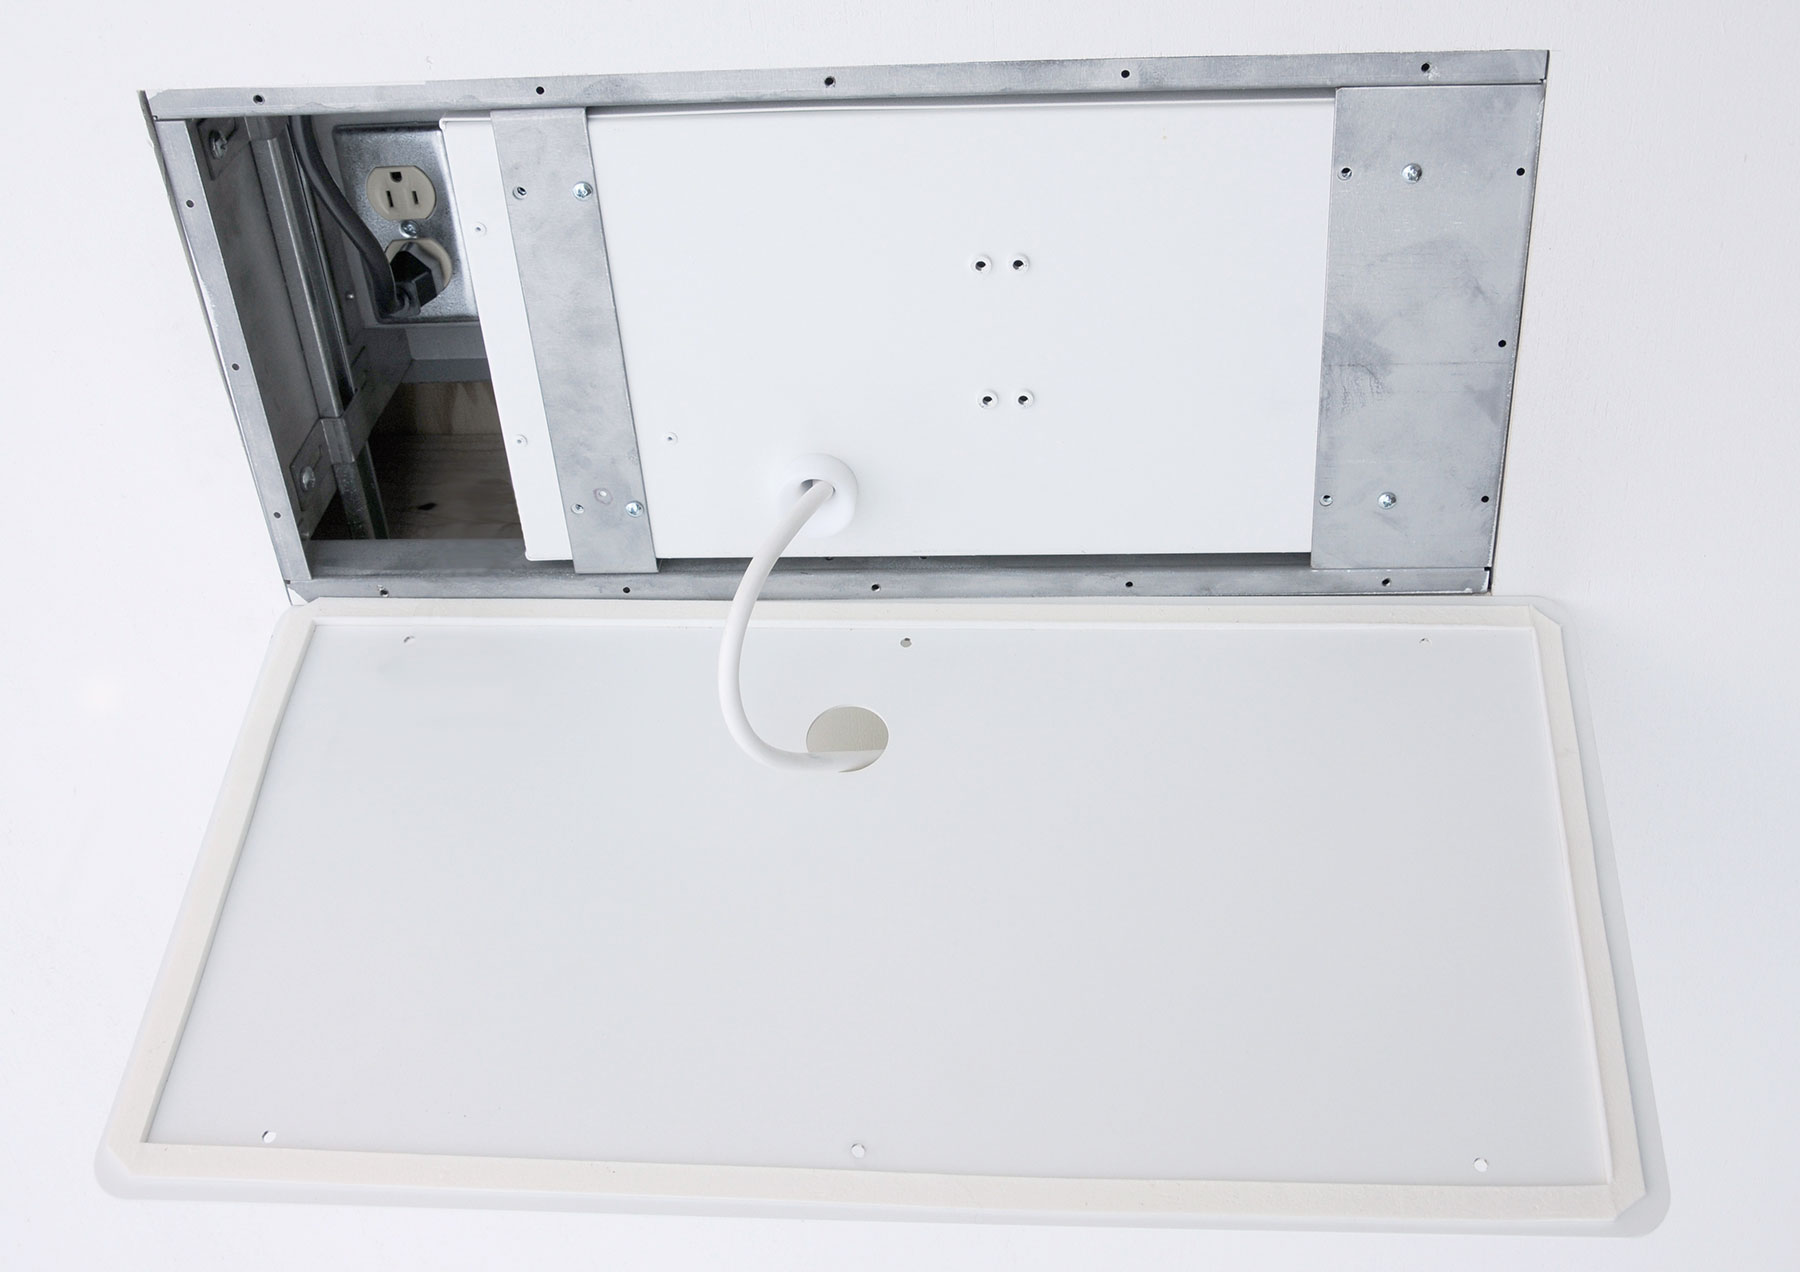
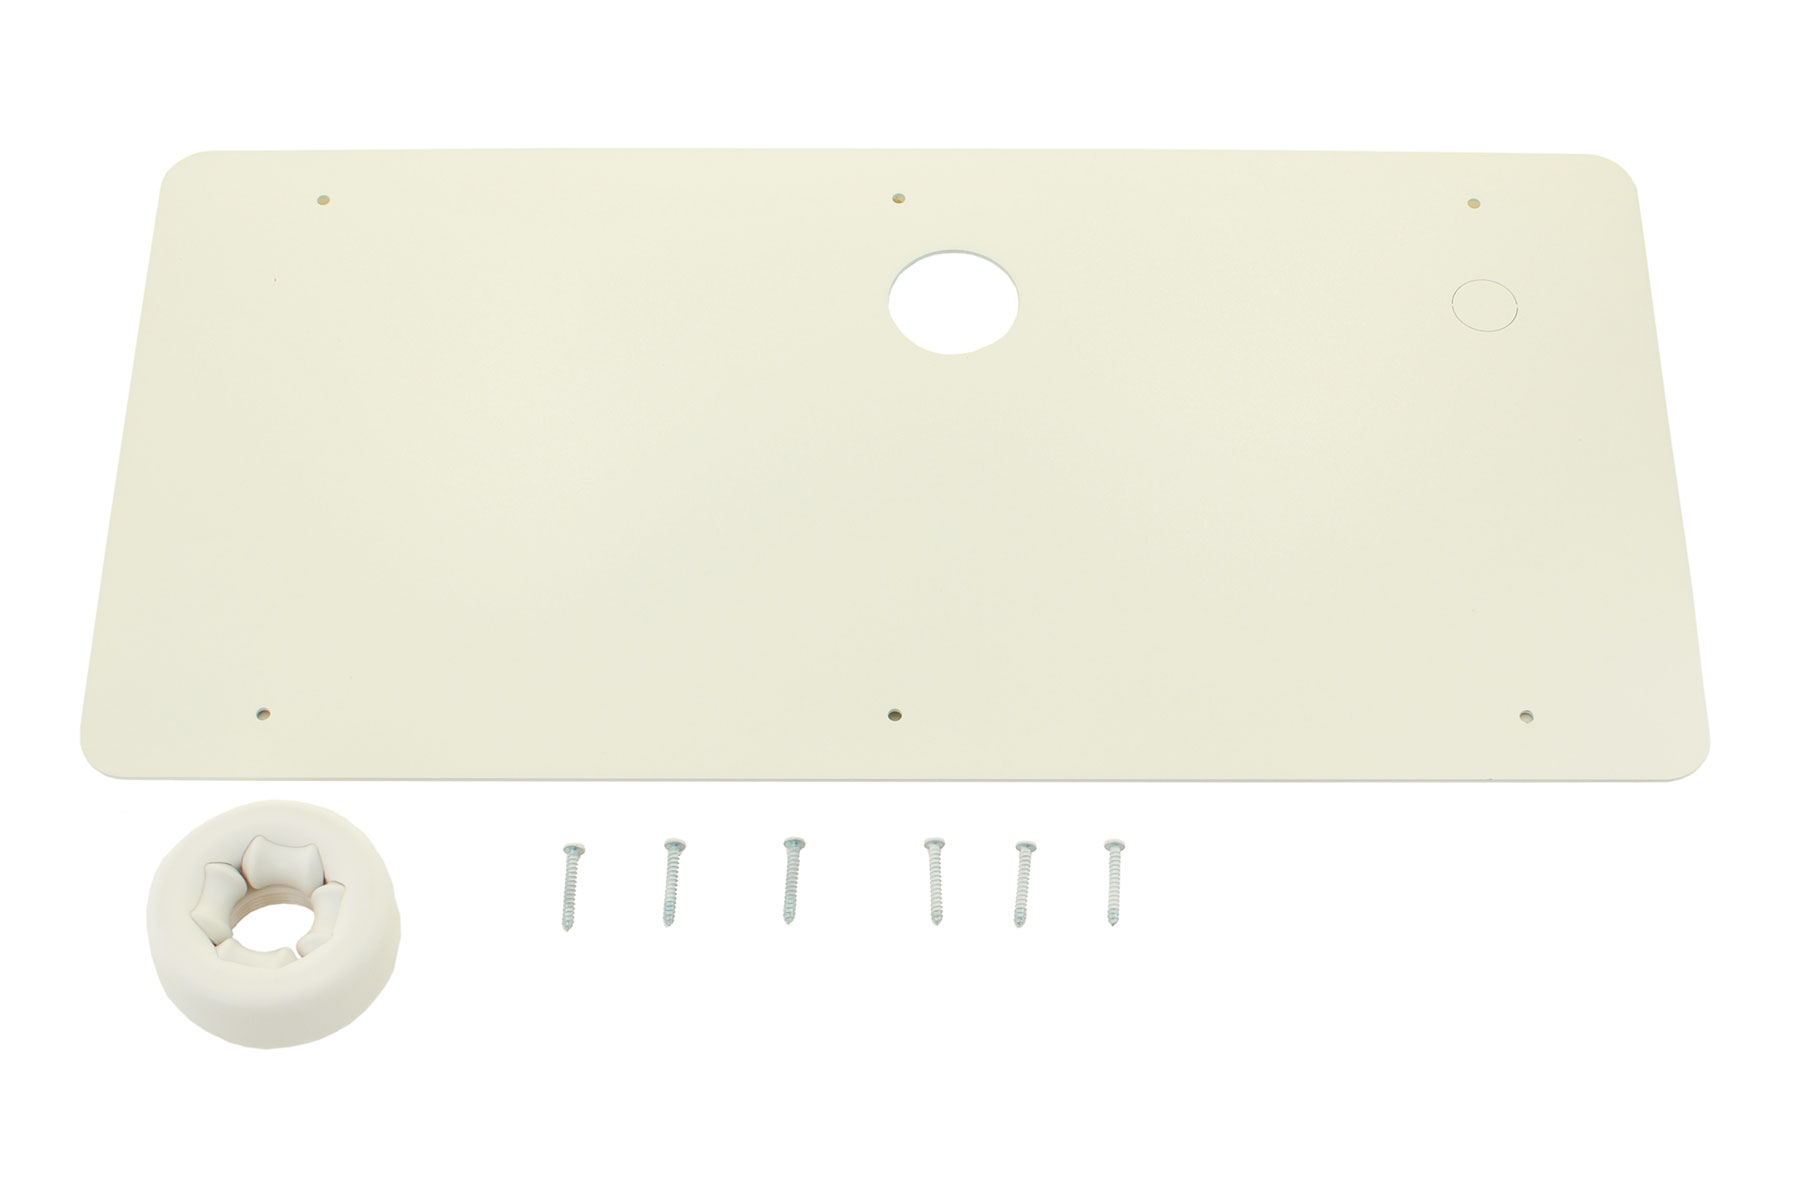
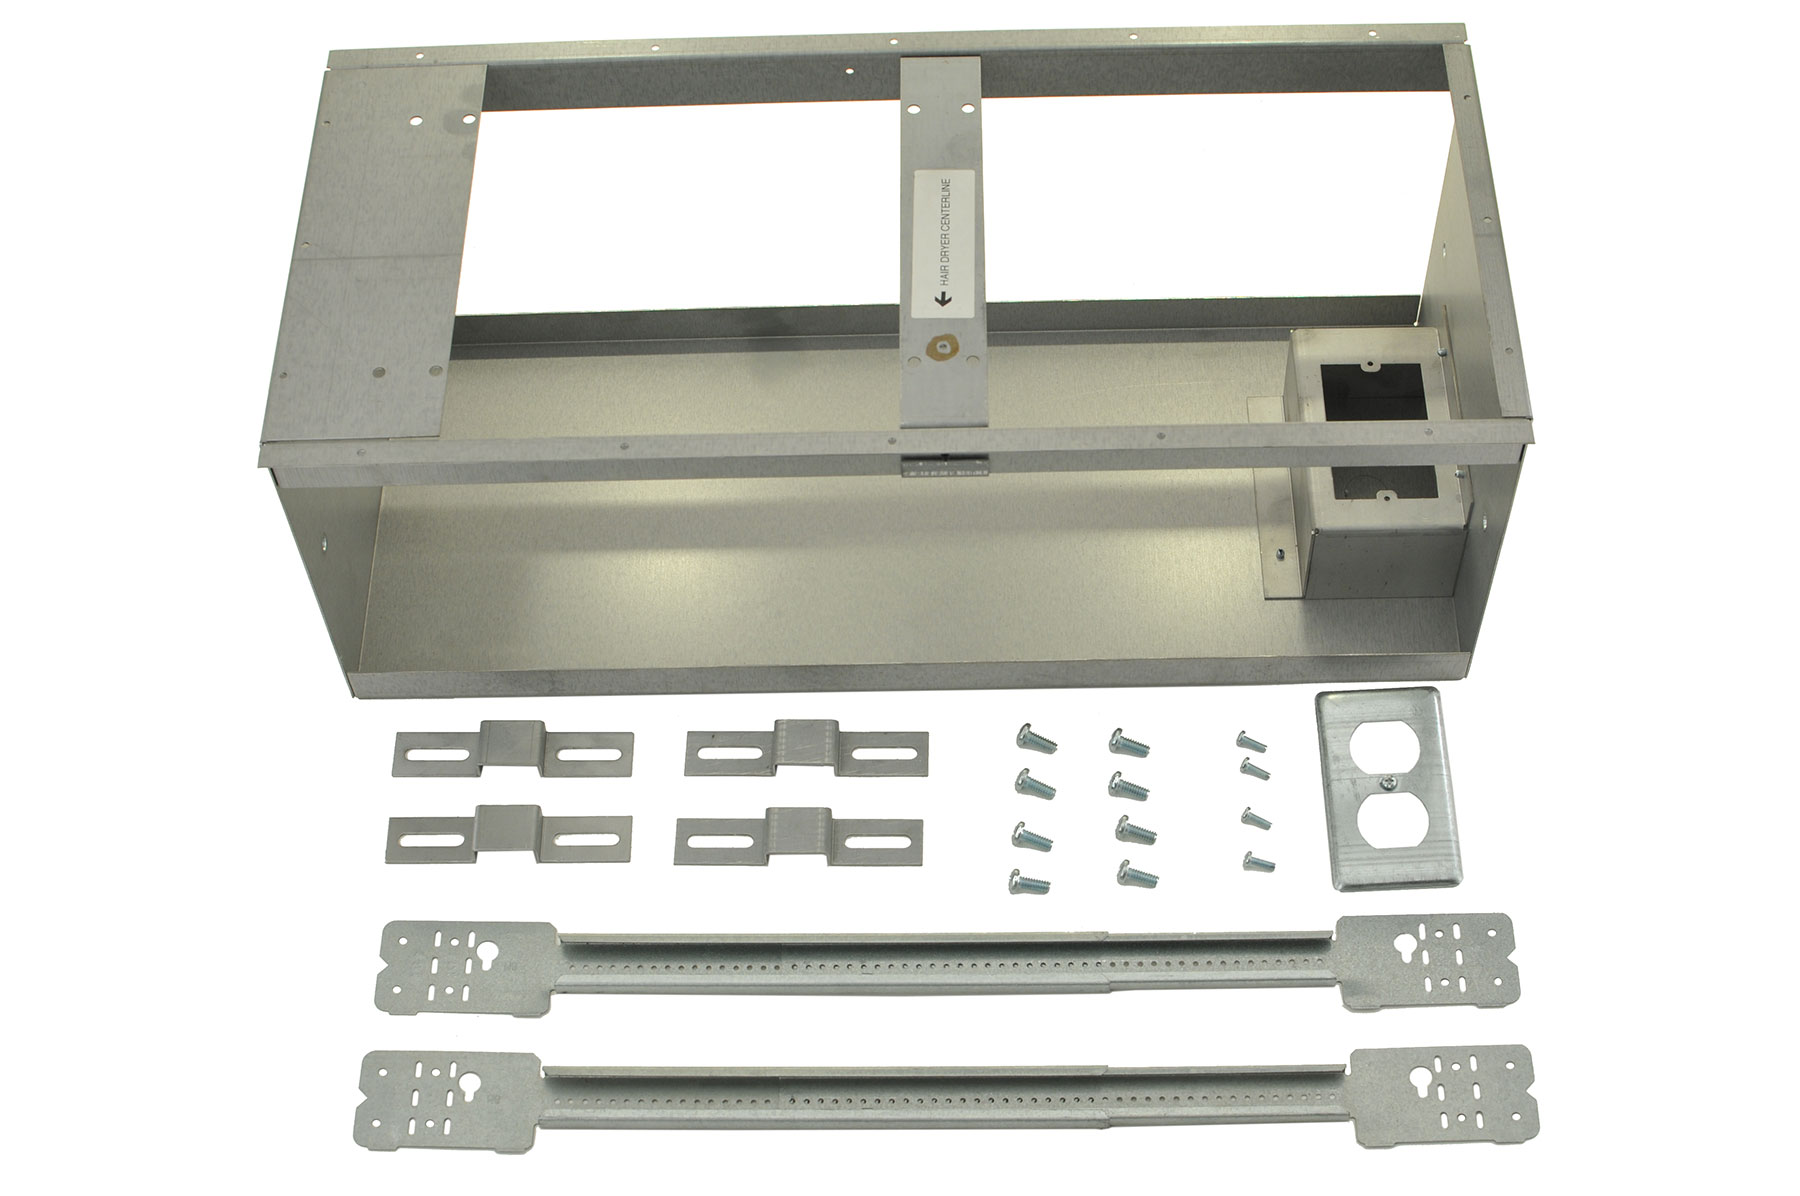
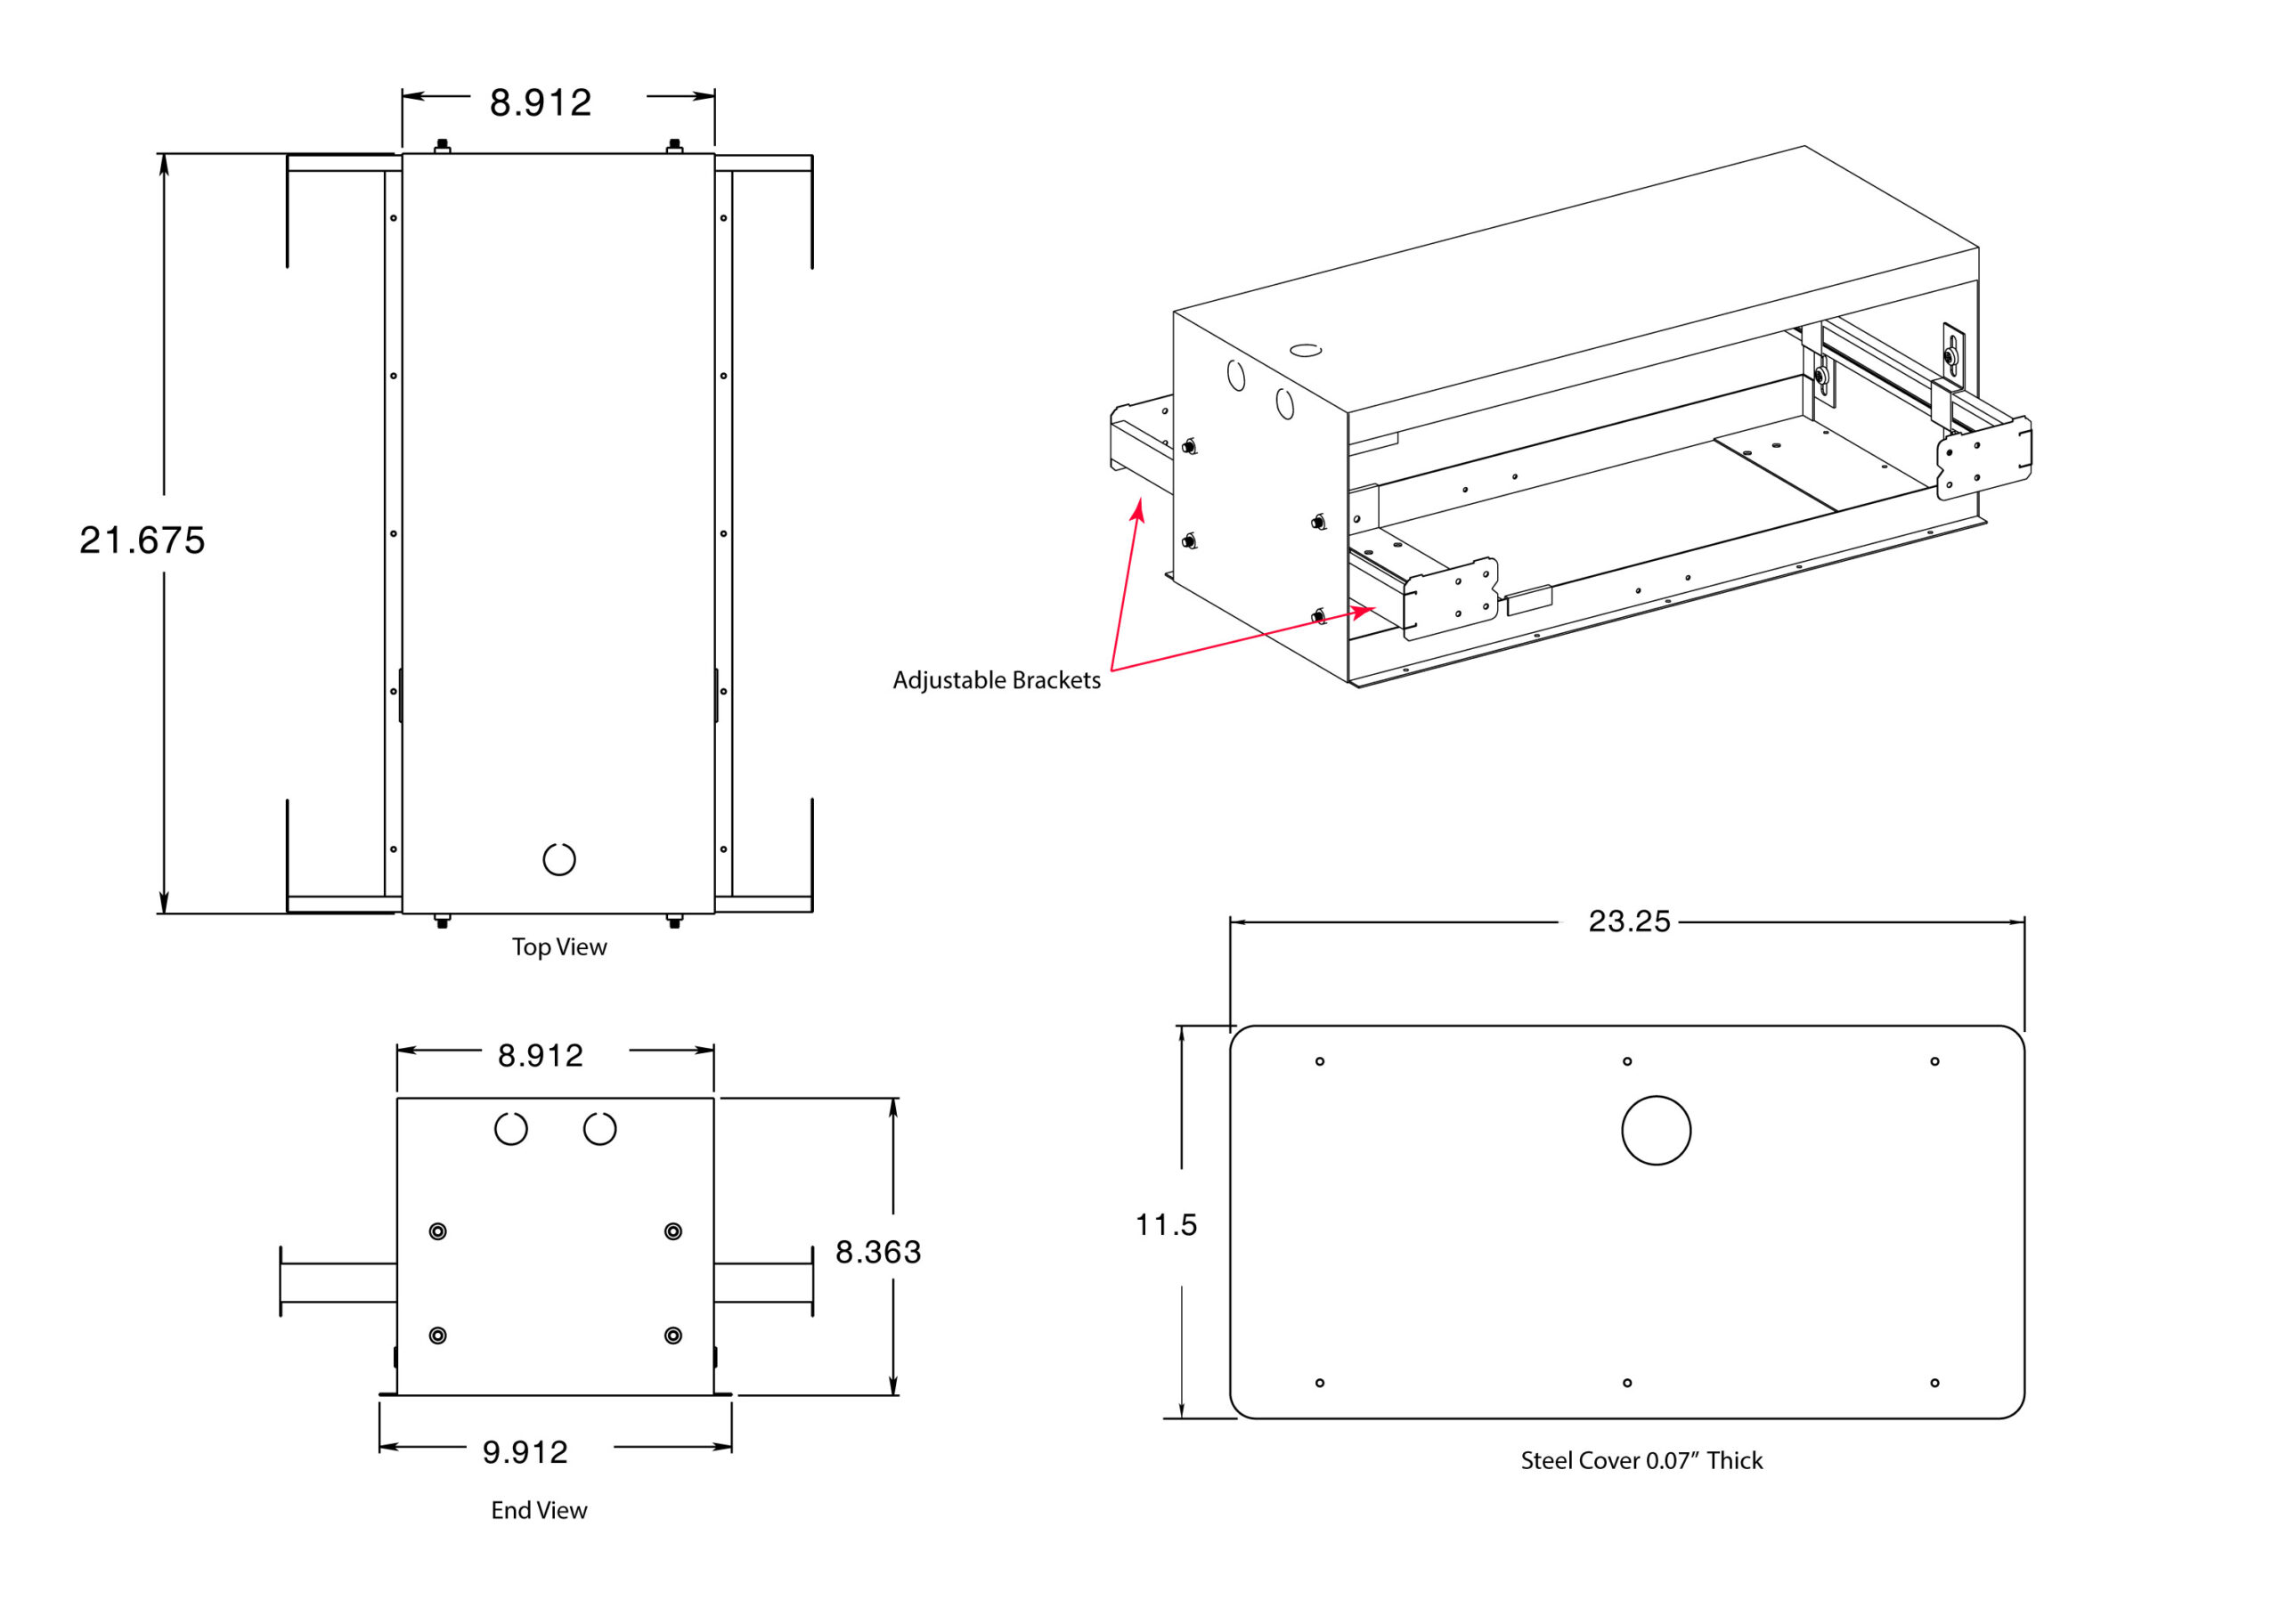
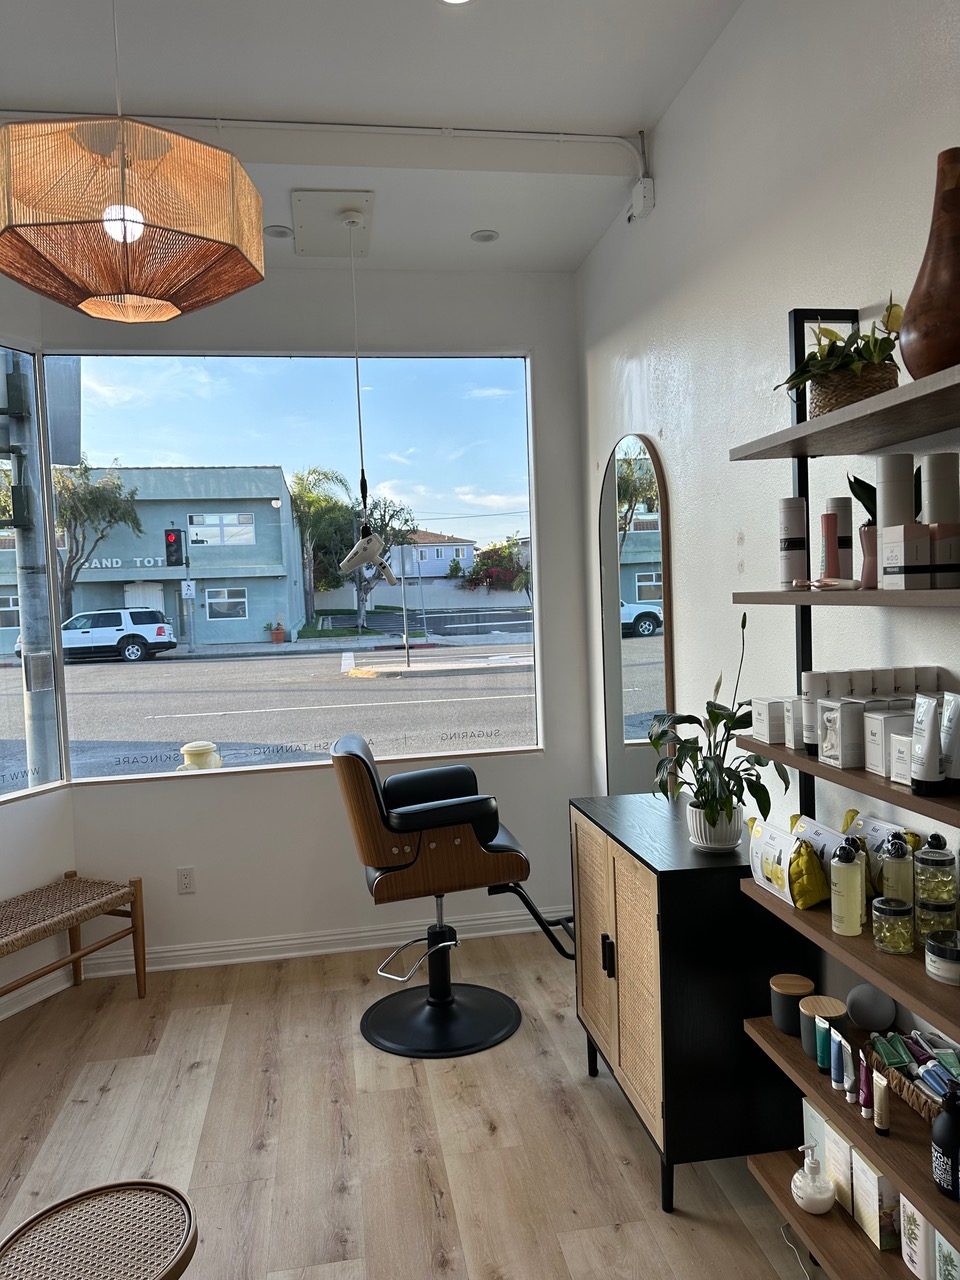
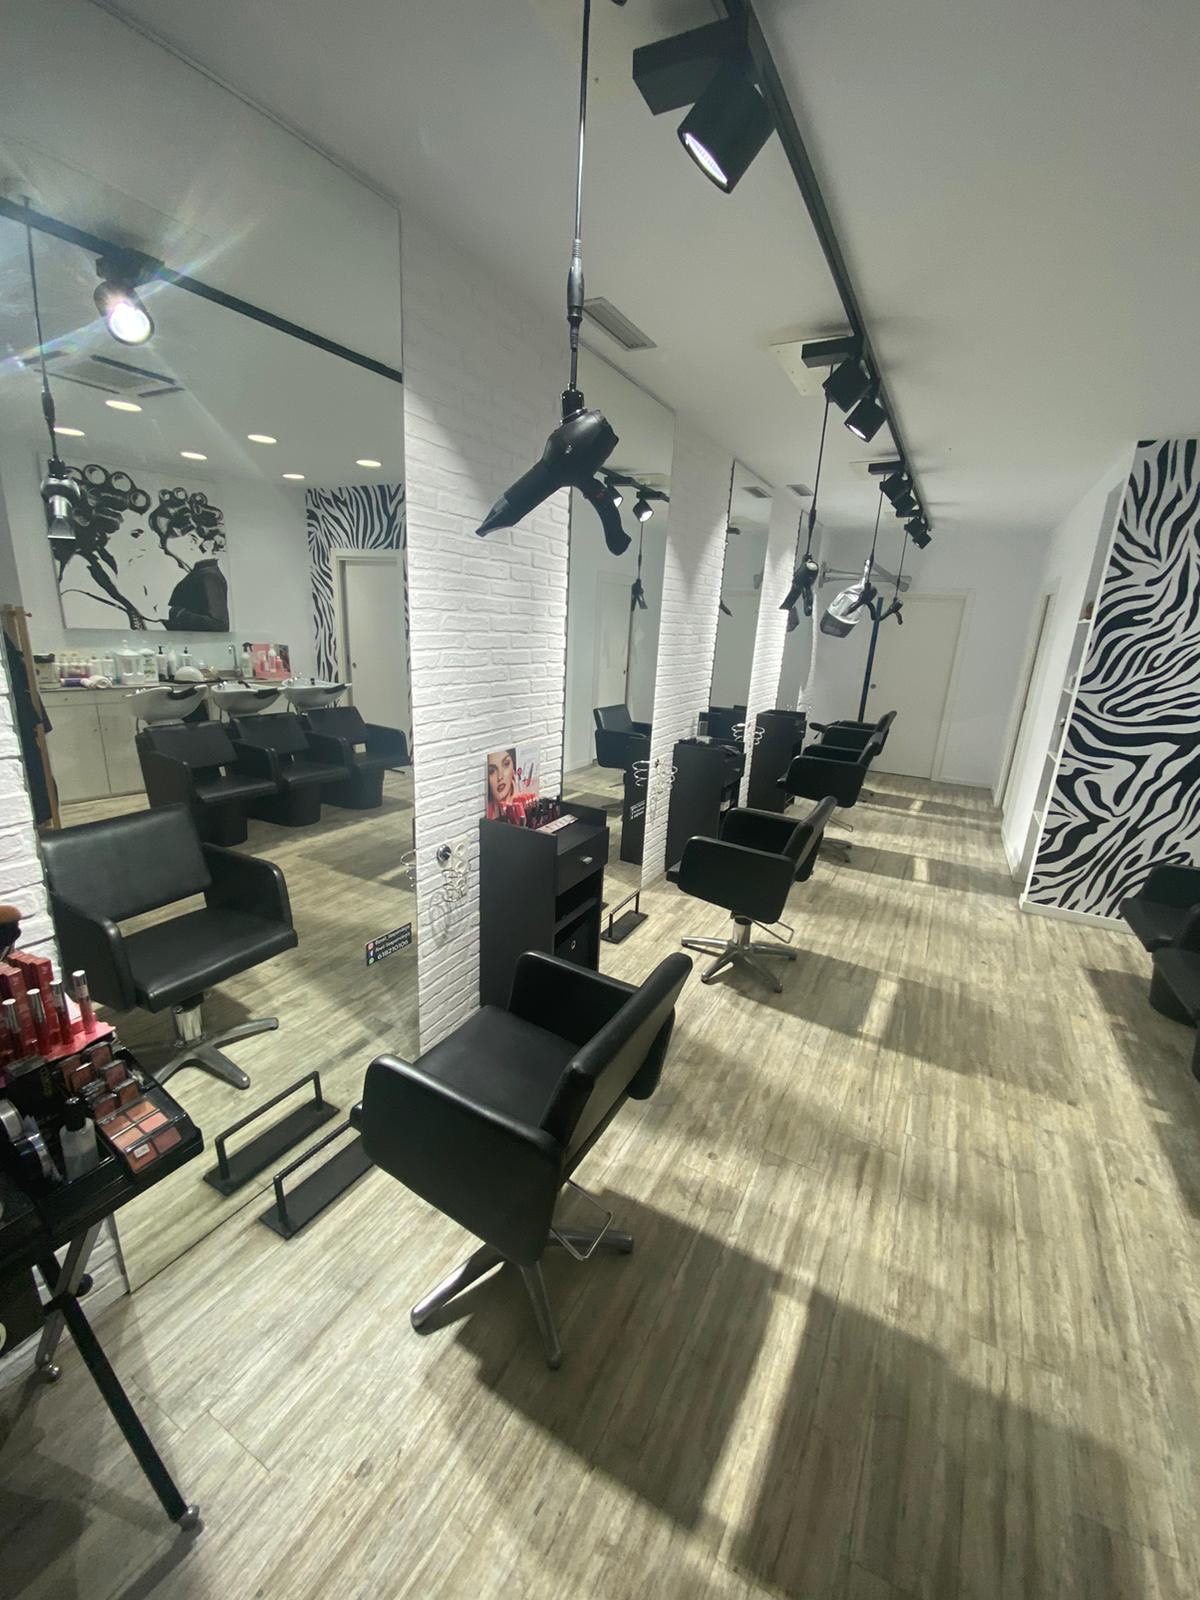
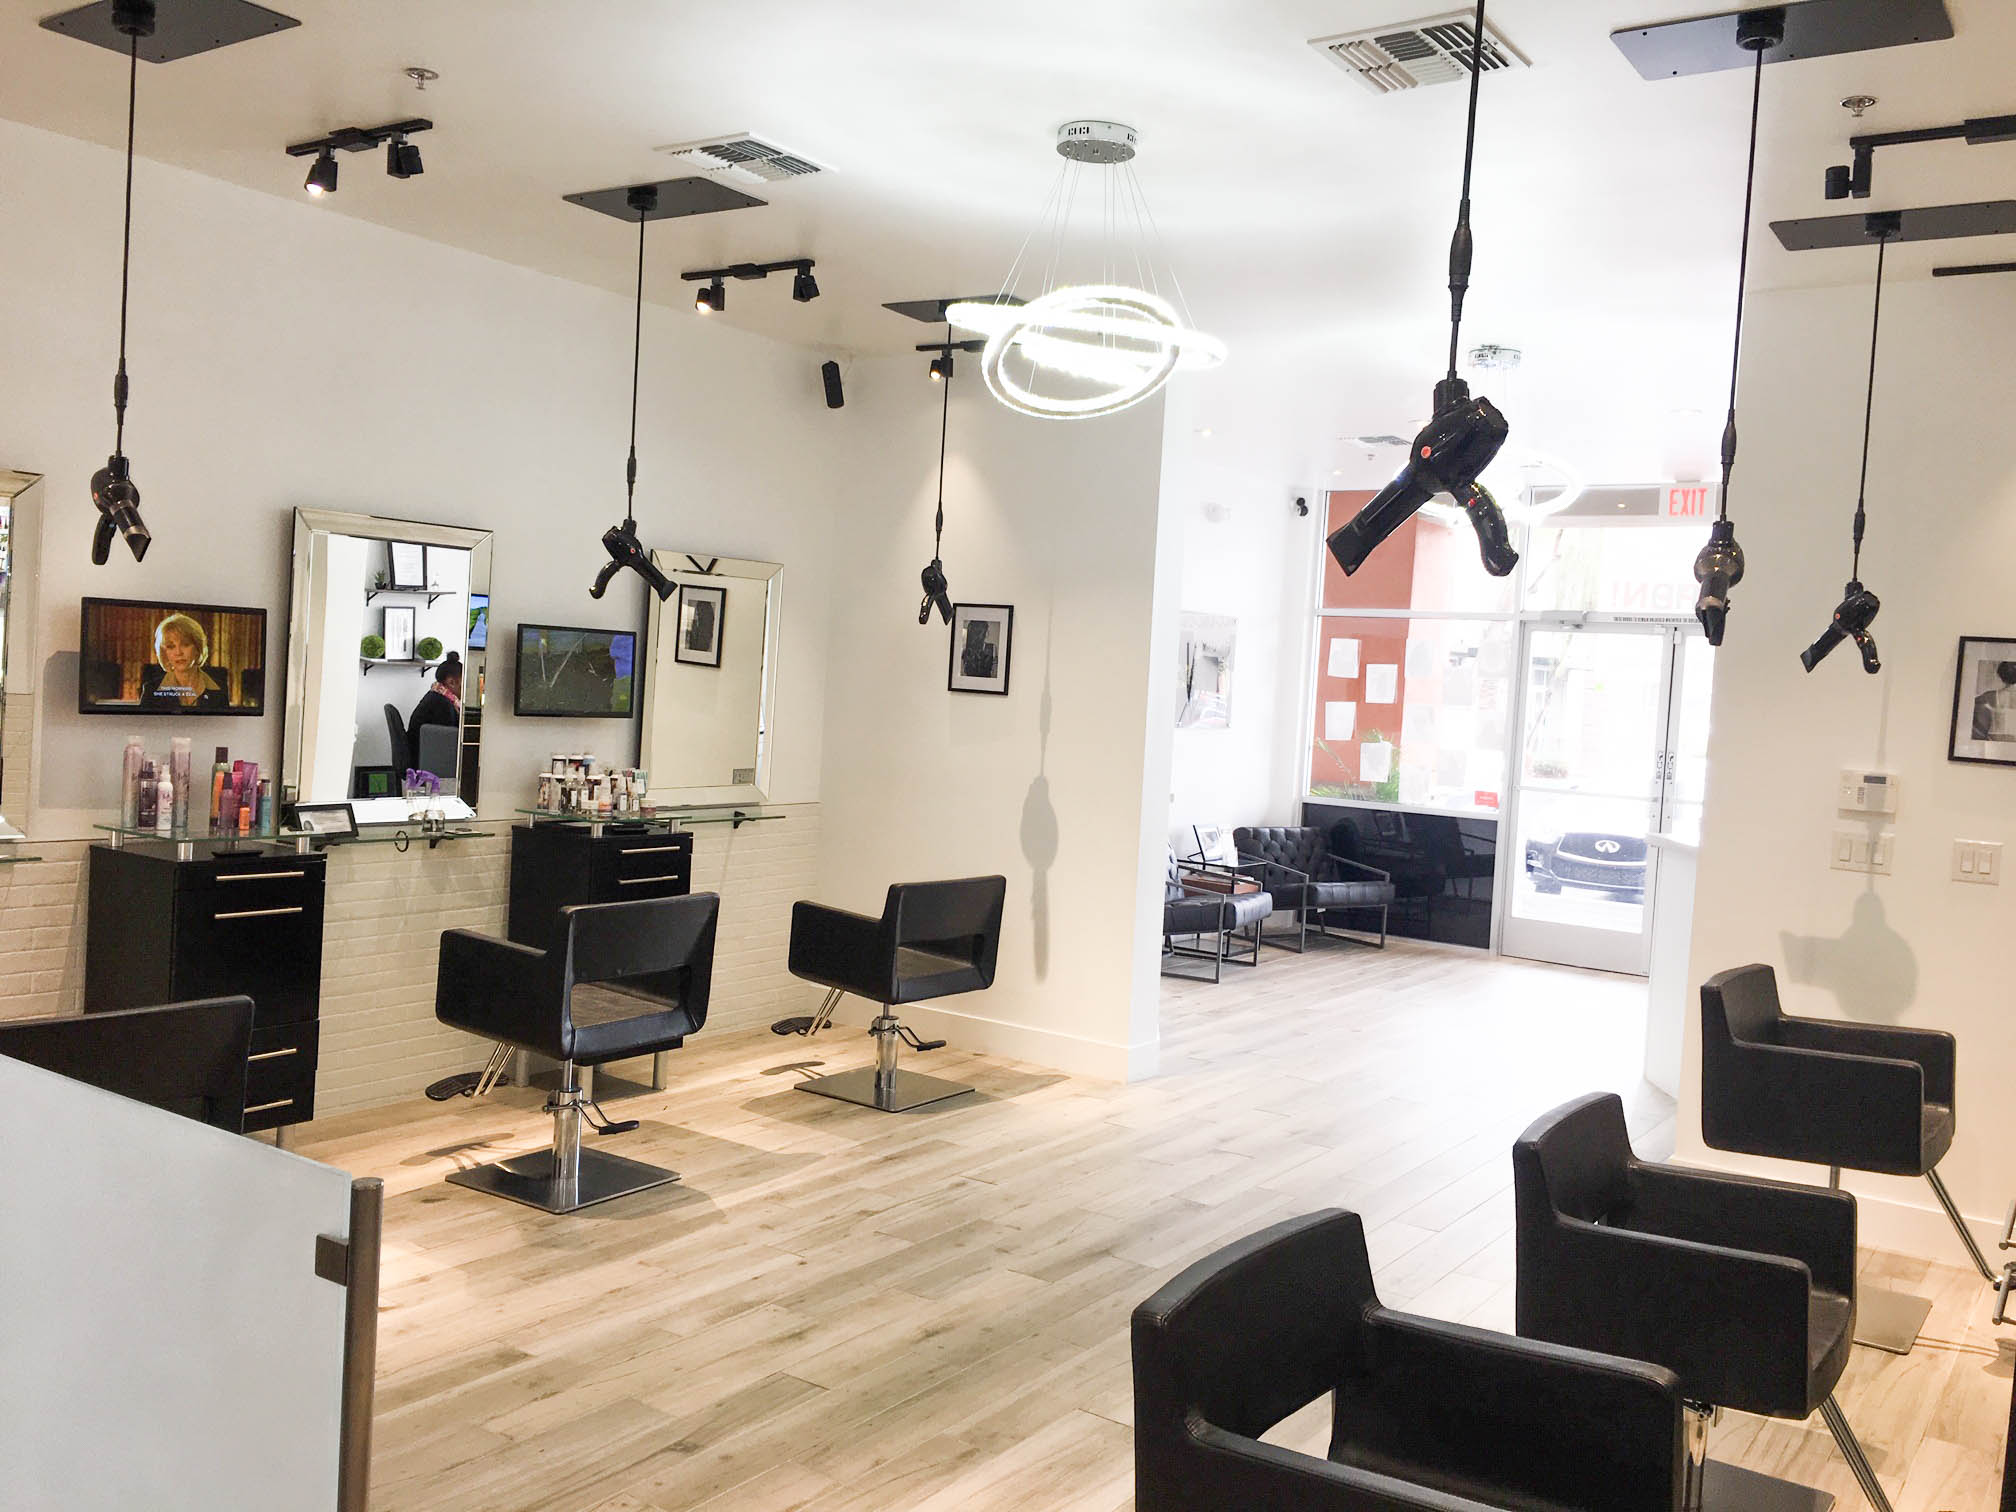
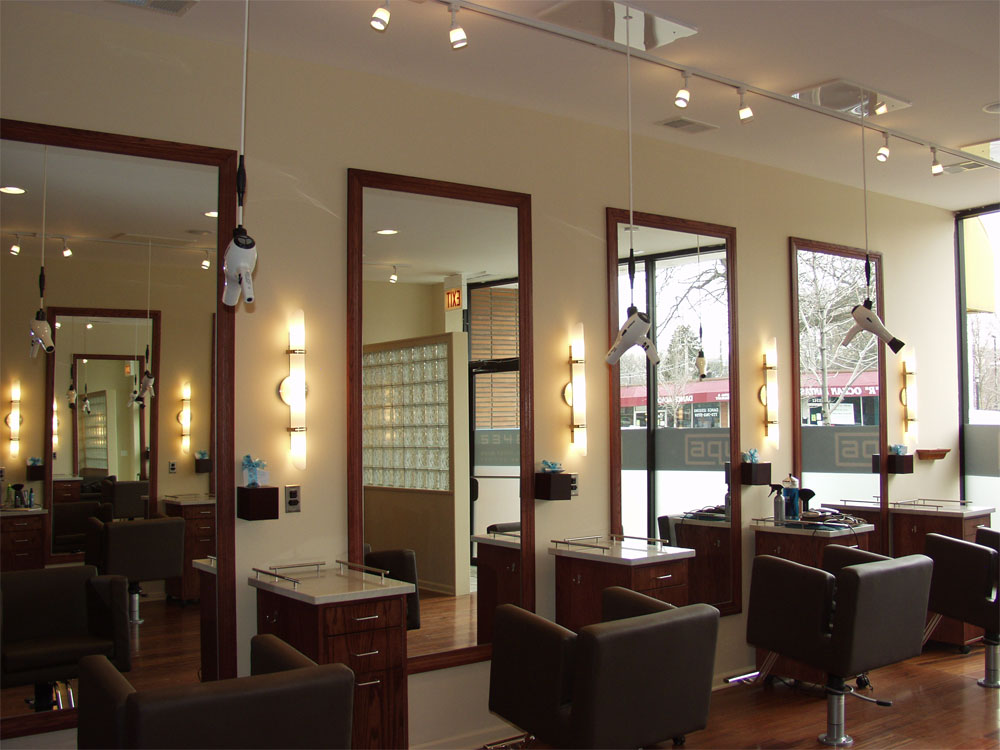
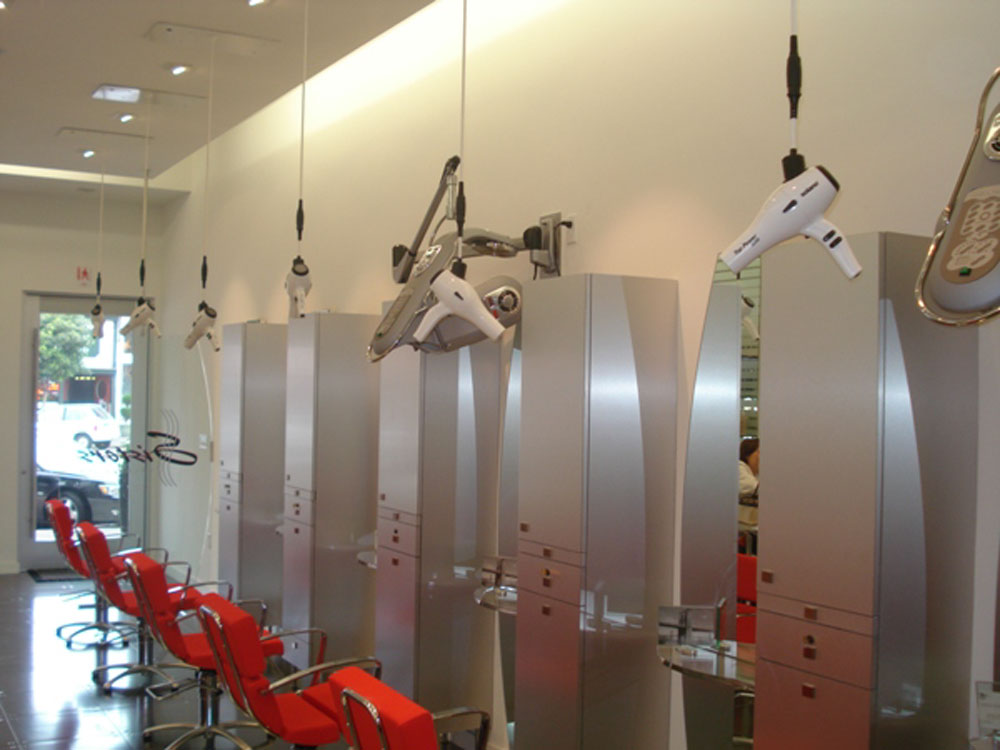
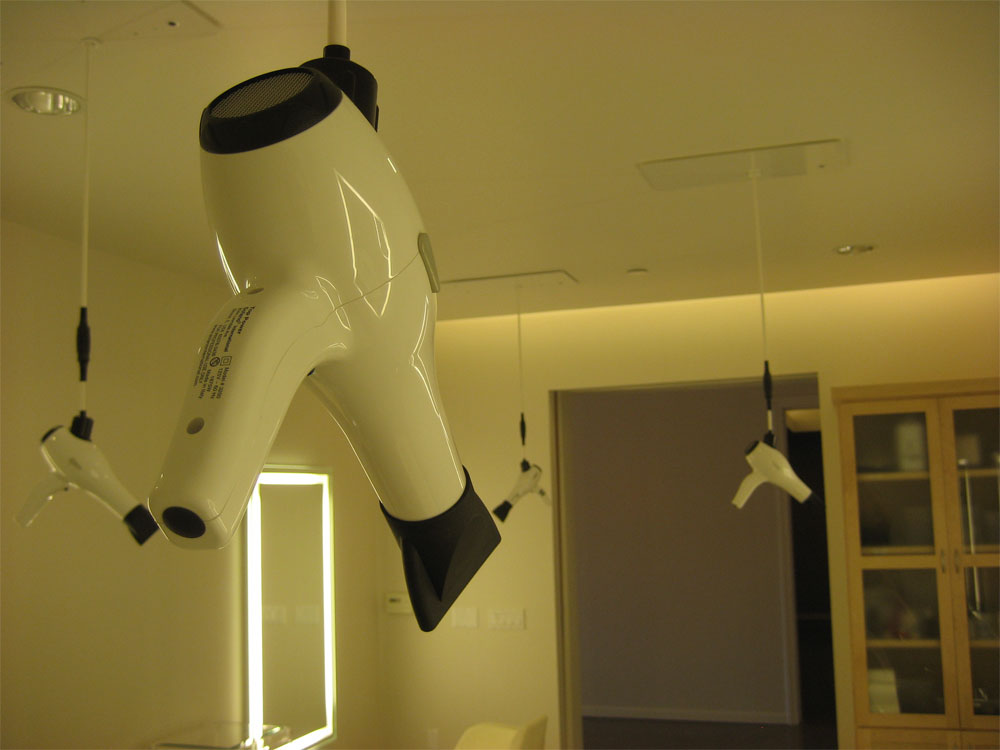
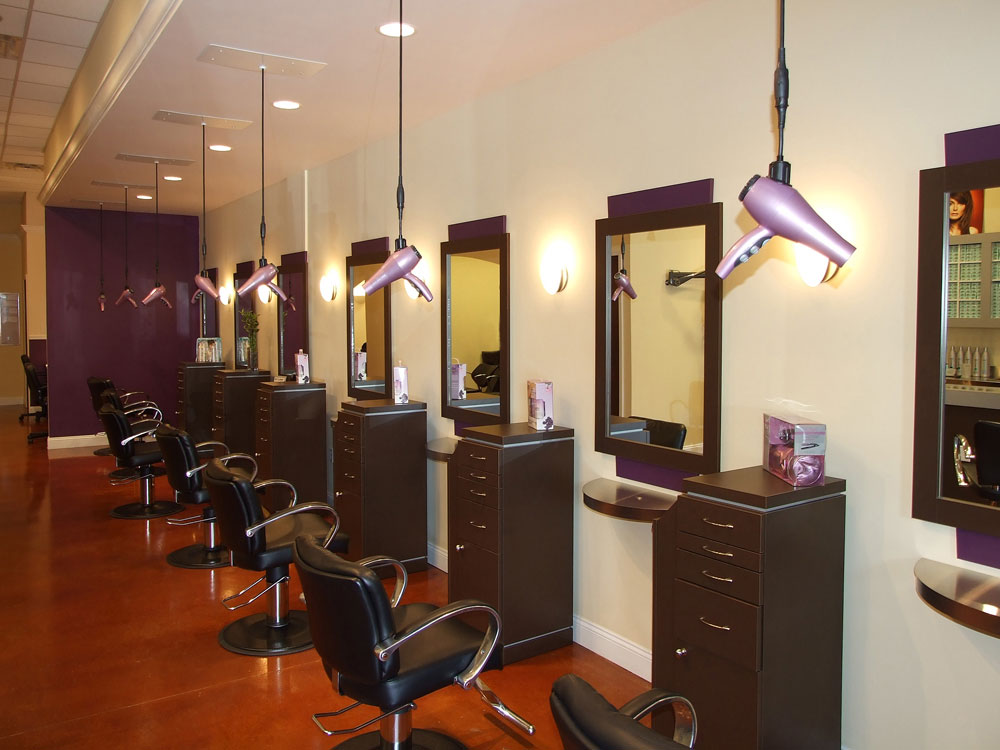
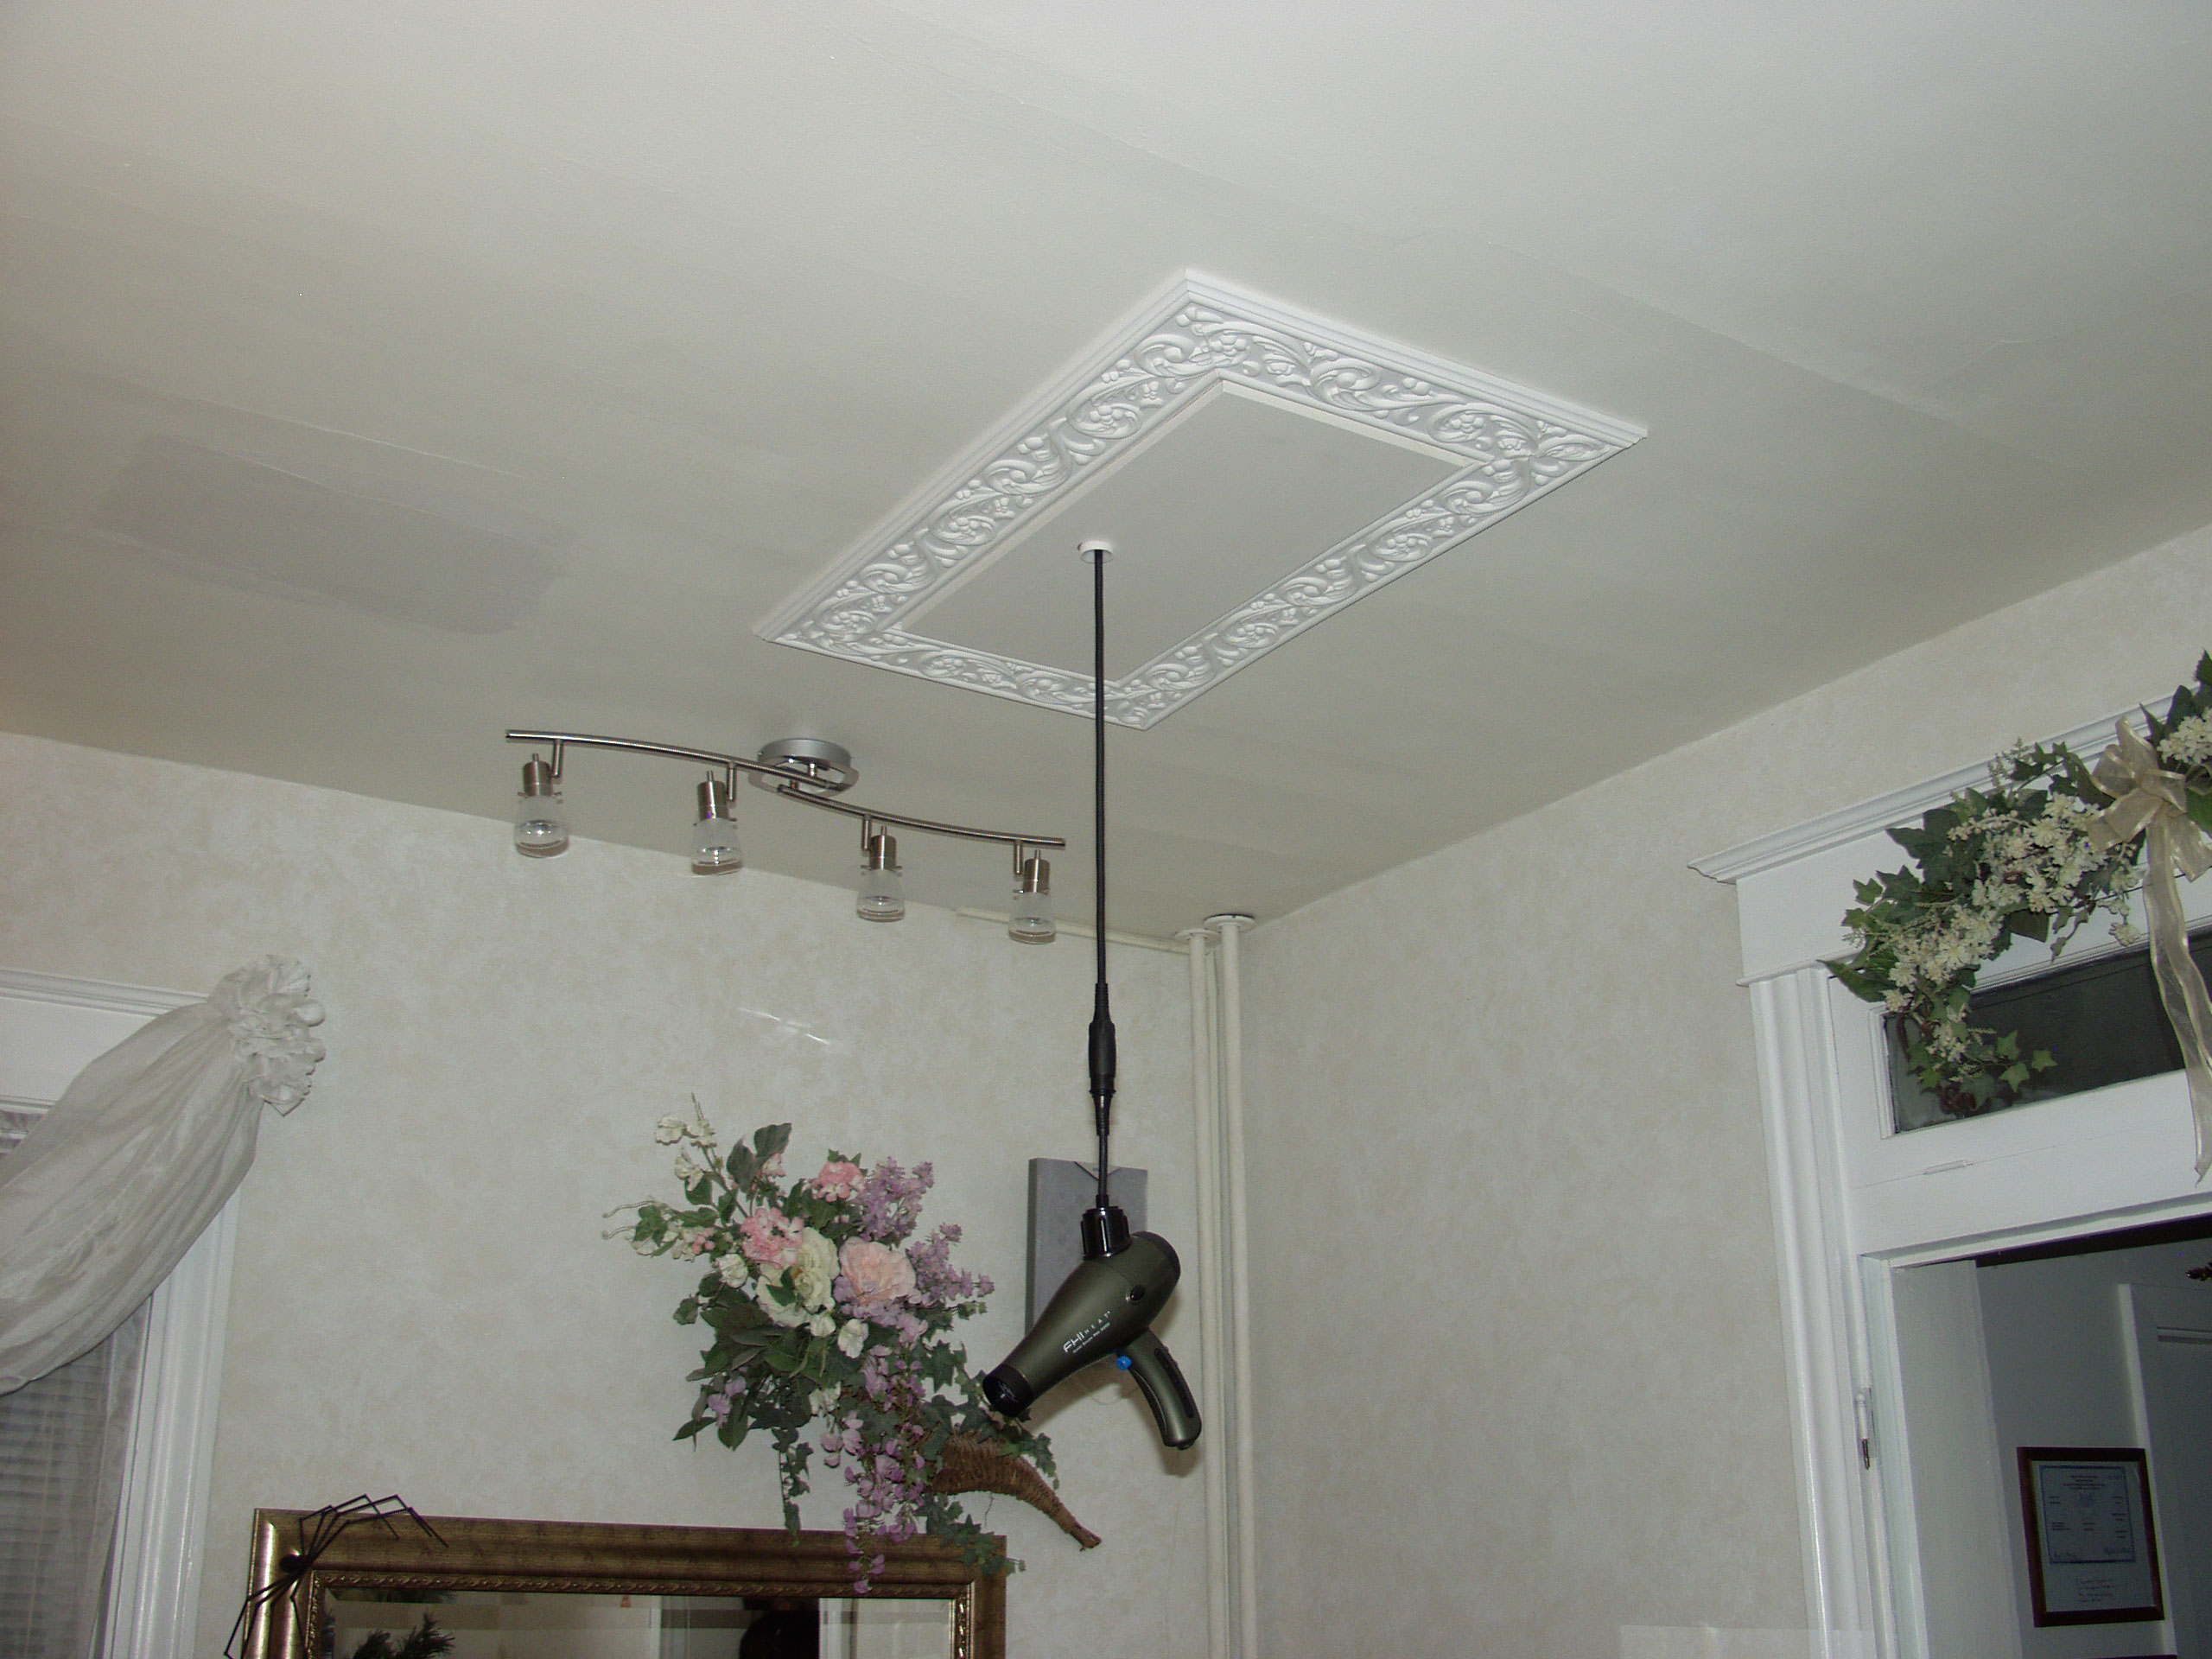
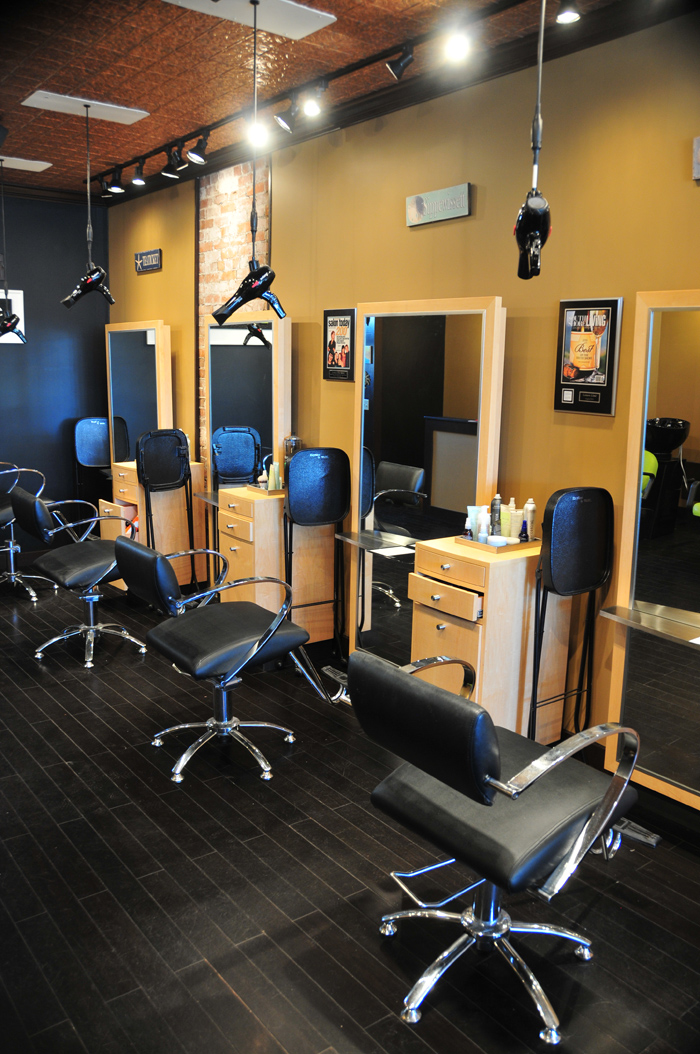
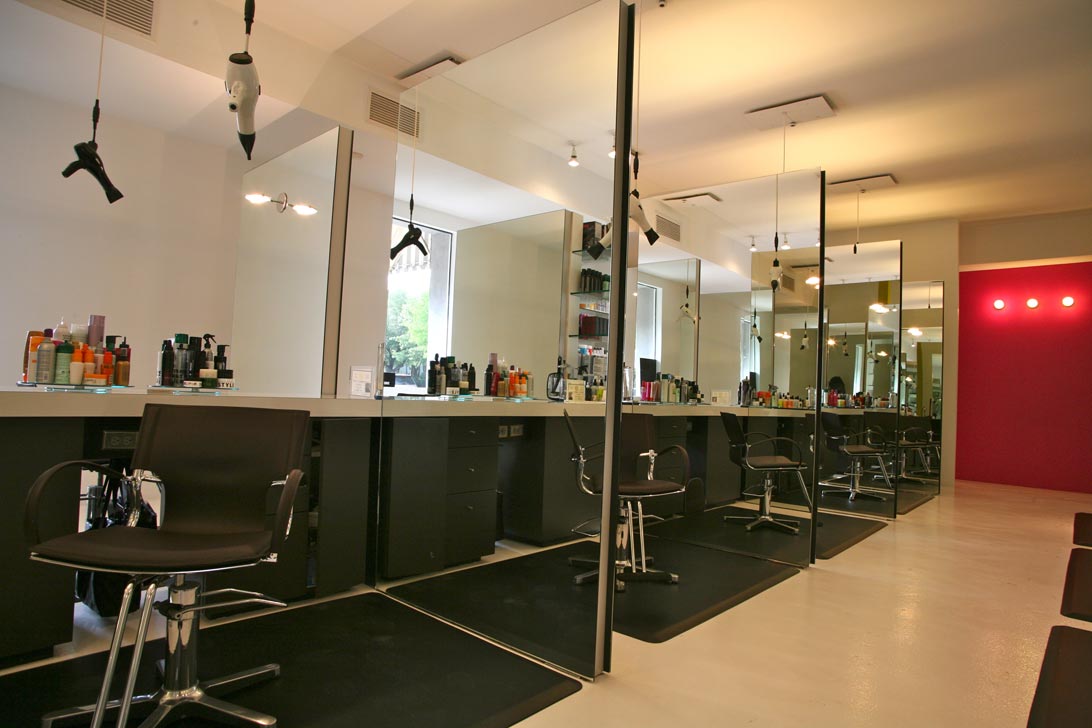
Our rough-in kit is designed specifically for new installations and sheetrock ceilings. The metal frame installs between ceiling joists, providing a secure and streamlined solution. Ideal for both new and existing constructions, this kit ensures the Freestylist is perfectly positioned for professional use.
Key Features:
- Metal frame for secure installation between ceiling joists
- Built-in outlet for seamless connection
- Works for both new and existing constructions
Benefits:
- Clean, professional look with flush installation
- Simple, affordable installation at $211.20
- Ideal for sheetrock and blueboard ceilings
Upgrade your salon with the perfect installation solution!
Download Installation Instructions
All orders are custom manufactured in the United States. A build checklist will be sent to you to confirm your ceiling height and order details before production begins.
Allow 4-6 weeks for delivery.
Call 508-845-4911 or use our Contact Us page for more information.
© 2025 Freestyle Systems. All Rights Reserved. Privacy Policy Terms of Use

